Microserver cabling
Today I will try to show you have to connect all cables for HP Microserver Gen8. Cabling is probably the easiest part after you received new microserver. But I have already met people who connect network cable to the ILO port and complain that their internet connection does not works. So I hope that this tutorial will be helpfull for somebody ... :-)
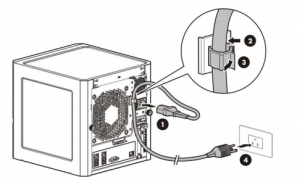
Microserver has just 1 power supply so we will need 1x power supply cable (cable is delivered with server if not this is standard power supply cable).
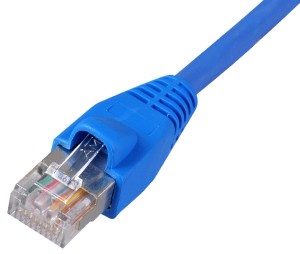
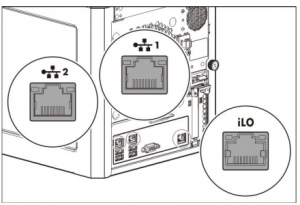
There is embeded network card 2-ports and 1 dedicated port for ILO management (what is ILO management and how to use this feature I will tell you next time). So if you want to use all ports you will need 3x ethernet cable (clasic RJ45)
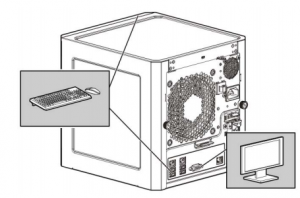
And of course if you want to configure your microserver you will have to also connect USB keyboard, USB mouse and VGA cable to your monitor.
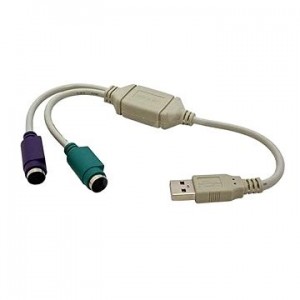
Microserver has not PS2 connector so if you have only PS2 mouse, keyboard or you have KVM switch with PS2 connectors you will have to use reduction. HP does not support these reductions but It does works for me so I hope you will have luck as I do.
Connecting power supply cable is very easy. There is nice power cable holder to prevent easy cable disconnecting - for example if you touch this cable by mistake.
Connecting ethernet cables ... This is very individual and mostly it depends on how many ethernet ports have you free in your switch or router and how many do you want to use.
You can use just 1 ethernet cable connected to the one of the ethernet ports (not ILO port) to have all functionality. To use all functionality - ILO and networking you will have to set up the prefered network port (first or second) as shared for ILO management. This could be done in ILO configuration (F8). After that you will be able to use network connectivity and ILO feature with just 1 cable. But it is not the best option.
ILO dedicated port is used just for ILO functionality. This port does not works as clasic network port - active connection does not provide you network functionality (internet, intranet connection).
I would recommend to use 1 cable for networking and 1 cable for ILO management (it is always better to have separate management network and clasic network trafic).
Or if you need better network performance or better redundancy (if you have 2 independed switches or routers) you can use network teaming from both ethernet network ports and also separately connected ILO management - as I said you will need 3 network cables in this case.
So this is basic Microserver cabling. Now you just connect your keyboard, mouse and monitor and enjoy :-)
NOTE: Cabling pictures were taken from HP Microserver user guide.
Print screen in better quality you can find in photo galery bellow. Thank you!
Náhledy fotografií ze složky Cabling

